Glamping promises hotel comfort in the wild, yet most first-timers get it wrong in one of two directions. Some arrive with a suitcase full of city clothes that never get worn, while others forget the one item that turns a tent stay from roughing it into genuine comfort, like a headlamp for those unlit paths between tents. The gap between a smooth trip and a frustrating one usually comes down to your glamping trip packing decisions made days before departure.
This complete checklist walks you through everything that matters: how to layer clothing for big day-to-night temperature swings, which footwear earns its place in your bag, the gear that keeps a tented camp comfortable after dark, and the compact toiletries that actually fit on a tent bathroom counter. We also cover food and kitchen extras, documents and money for remote locations, and location-specific items like snorkel gear or binoculars. Work through each section and you will arrive prepared, not overloaded.
Clothing Layers: The Core of Any Glamping Trip Packing List
Clothing is where most glamping packers go wrong, usually by bringing too much of the wrong thing. The goal is not a wardrobe; it is a small system of layers that handles hot afternoons, chilly evenings and the occasional downpour. In most glamping regions, temperatures swing by roughly 10-15°C between day and night, so a sunny 28°C afternoon can turn into a genuinely cold dinner under canvas. Build your kit around three layers: a breathable base, a warm mid-layer and a packable rain shell that stows into its own pocket.
Fabric choice matters as much as quantity. Humidity inside tented camps slows drying dramatically, and a cotton t-shirt washed after a hike can easily take a full day to dry, sometimes longer. Quick-dry synthetics and merino blends solve this, and they also resist the odors that build up when you re-wear items over several days. Many luxury camps also host candlelit dinners where guests dress up, so one smart-casual outfit deserves a spot in the duffel.
- Base layers: pack two or three breathable, quick-dry tops in darker colors, which hide trail dust and campfire smoke between washes.
- Mid-layer: a fleece or light insulated jacket is non-negotiable for evenings and early morning game drives or coffee on the deck.
- Rain shell: choose a packable version that compresses to the size of a water bottle, so it never becomes an excuse to skip the layer.
- Smart-casual outfit: one shirt or dress with clean shoes covers candlelit dinners without needing a separate pair of dress shoes.
- Quantity rule: limit yourself to 3-4 days of clothing and use your camp’s laundry service, which most tented sites offer for a modest fee.
Footwear and Weather Protection
Footwear is the classic glamping packing trap: one pair of shoes is too few, and a full shoe rack is dead weight in a duffel. Two pairs cover nearly every situation. Broken-in walking shoes handle trails, game walks and gravel paths between tents, while waterproof sandals or slides protect your feet in shared shower blocks and keep tent interiors clean. Whatever you choose, never bring brand-new walking shoes; blisters on day one can sideline the rest of your trip.
Sun and rain protection matter more at tented camps than at resorts, because so much of camp life happens outdoors. Island and coastal camps put you on exposed decks for hours of lounging, stargazing and meals, and a wide-brim hat plus SPF 30+ sunscreen are the two items you will reach for daily. In the tropics, wet-season months run roughly May to October, so check your camp’s season before deciding between a compact umbrella and simply relying on your rain shell. Finally, pack a microfibre towel: some tented sites do not supply pool or beach towels, and a microfibre one dries overnight instead of staying damp for days.
- Walking shoes: choose low-cut trail runners or light hikers with grippy soles, since boardwalks and grass paths get slippery after rain.
- Sandals or slides: waterproof versions with a strap stay on your feet better than flimsy flip-flops on wet decking.
- Hat and sunscreen: a hat with a brim all the way around shades your neck better than a cap during long deck afternoons.
- Rain backup: a compact umbrella doubles as sun shade, but your rain shell is usually enough if you want to save the space.
- Microfibre towel: pick one sized for swimming rather than a small travel towel, and hang it in the shade to dry.
Gear and Camp Comfort Essentials
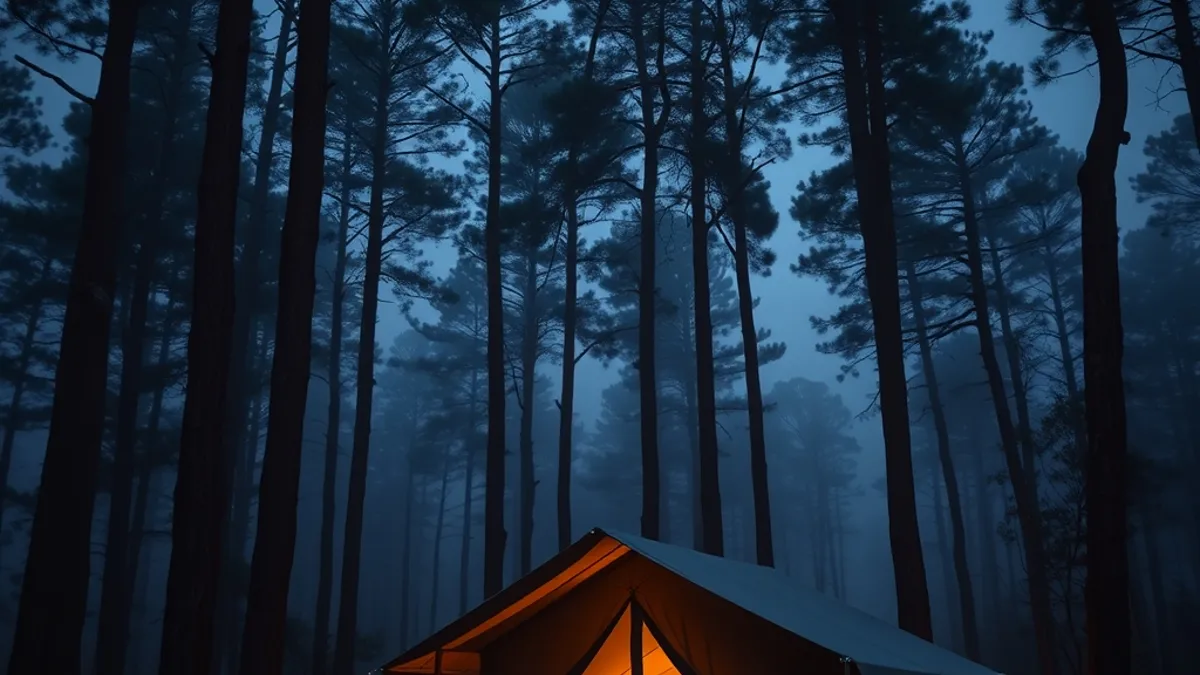
Glamping gear is about solving the specific problems of tent living: darkness, distance, limited storage and scarce power. After sunset, paths between tents are usually unlit, and walking ten meters to the dining tent becomes an adventure without a light. Bring a headlamp of at least 200 lumens for every person in your group, and keep it within arm’s reach of your bed for midnight trips to the bathroom tent. A power bank of 10,000 mAh or more covers the gap left by limited or absent tent outlets, keeping phones and cameras charged through multi-day stays.
Storage is the other constraint. Tent storage is far smaller than a hotel wardrobe, often a few shelves and a trunk, so a soft-sided duffel under 20 kg is far easier to stow than a rigid suitcase. Packing cubes keep your compressed wardrobe organized, and a small daypack carries water, layers and snacks on excursions from your tented base. A 1-liter reusable water bottle rounds out the kit; most camps provide refill stations, so you can top up instead of buying plastic bottles.
- Headlamp extras: pack spare batteries or a USB-rechargeable model, and choose one with a red-light mode that won’t blind fellow campers at night.
- Daypack: a 15-20 liter pack with a hip strap carries more comfortably on longer hikes than a drawstring bag.
- Packing cubes: use one cube per clothing category so you can pull out a single outfit without unpacking everything on the limited shelf space.
- Power bank: a 10,000 mAh or larger unit typically recharges a phone two to three times, enough to bridge a stay without reliable outlets.
- Water bottle: insulated versions keep water cool through hot afternoons, which makes you far more likely to actually drink enough.
Toiletries and Personal Care for Tent Living
Tent bathrooms are a world away from a hotel vanity. Most offer a narrow shelf, maybe a small hanging pocket, and little else, so a full set of full-size bottles quickly turns into a juggling act every morning. Decanting your products into 100 ml travel bottles solves the problem before you arrive and keeps your kit light enough to fit in the soft-sided duffel most tented camps expect.
It is also worth thinking about what goes down the drain. Glamping camps are usually built in beautiful, fragile places — beside rivers, on beaches, at the edge of rainforest — and the soap and sunscreen you rinse off ends up in that environment. Biodegradable soap and reef-safe sunscreen are easy swaps that make a real difference, and some camps now ask guests to use them as a condition of staying.
Climate matters too. Mountain camps can be surprisingly windy and drying, and coastal sites often have the same effect thanks to constant sea breezes. Your skin and lips will notice long before you do.
- Biodegradable soap and shampoo: look for labels that specify they break down naturally in soil and water, and pack them in leak-proof bottles so a bumpy transfer ride does not soak your clothes.
- Reef-safe sunscreen: choose a formula free of oxybenzone and octinoxate, which are the ingredients most commonly linked to coral damage, and reapply after swimming.
- Insect repellent with 20-30% DEET or picaridin: essential for jungle and rainforest locations, especially around the ankles and neck where mosquitoes find gaps in clothing.
- Lip balm with SPF and a rich moisturiser: wind at exposed mountain and coastal camps chaps lips fast, so keep both in a pocket rather than buried in your bag.
- A quick-dry microfibre face cloth: tent bathrooms sometimes provide towels only, and a small cloth dries overnight in humid conditions.
Food, Drinks and Kitchen Extras
Before you buy a single snack, check what your camp actually includes. Most luxury tented sites are full-board, meaning breakfast, lunch and dinner are provided, and bringing extra food would only take up space you do not have. A quick email to the camp or a careful read of your booking confirmation will tell you exactly what to expect — some remote lodges even include drinks, while others charge for everything beyond water.
If you have booked a self-catered site, resist the urge to pack a portable kitchen. Tent kitchens, where they exist at all, are basic, and you will get far more enjoyment from simple meals than from hauling pots and pans across the country. Shelf-stable snacks, one spork and a collapsible cooler cover almost everything a short stay requires.
One habit worth building: never leave food out overnight. Open tents are tempting to monkeys, rodents and other wildlife, and even a wrapper left on a side table can invite an unwanted visitor at 2 am. Seal everything away before you sleep.
- Electrolyte tablets or sachets: on hot tropical days and long hikes, plain water is not always enough, and these lightweight sachets replace the salts you lose through sweat without adding bulk.
- Shelf-stable snacks: think trail mix, nut bars and dried fruit rather than chocolate, which melts into a mess in a warm tent.
- A spork: one utensil that covers both jobs, ideally titanium or hard plastic so it survives being sat on in your daypack.
- A collapsible cooler: flat when empty, useful for keeping drinks and a few cold items fresh, and far easier to pack than a rigid box.
- A small airtight bag for food waste: keep crumbs and wrappers sealed inside your tent or in a lockable storage box so smells do not attract wildlife at night.
Documents, Money and Trip-Specific Extras
Remote glamping sites are remote for a reason, and that often means no mobile signal when you arrive. Your phone may show nothing but a blank signal bar just when you need your booking details most. Print your confirmation and the camp’s directions before you leave home, and hand a copy to your travel companion so you are not both digging through bags at the same time.
Money needs the same forward planning. Many camps and local transfer drivers operate in areas where card machines simply do not work, so carry small cash notes in the local currency. Small denominations matter: tips, roadside stalls and shared rides are almost impossible to settle with a large note, and change is rarely available.
Finally, think about where you are going, not just that you are going. A few location-specific extras can transform the trip, and they are the items most often forgotten because they do not belong on a generic packing list.
- Snorkel gear: for island and coastal camps, bring your own mask and snorkel if you have them, since rental sets at remote sites can be limited in size and condition.
- Binoculars: for rainforest and wildlife stays, a compact pair lets you spot birds and animals high in the canopy that the naked eye struggles to pick out.
- A pen and small notebook: useful for filling in arrival forms at remote checkpoints, sketching trail directions a guide draws for you, or noting wildlife sightings when your phone has no battery.
- Printed emergency contacts: write down the camp’s phone number and your country’s embassy details, since a dead phone with everything saved on it is no help at all.
Whichever extras you choose, give yourself a buffer between finishing your checklist and departure day. That gap gives you time to notice the missing item, replace it or print it, instead of discovering the gap at the airport or, worse, on arrival at a camp with no signal to fix anything.
Ready to Zip Up Your Glamping Trip Packing
Glamping promises hotel comfort in the middle of nature, and packing for it is easier than most first-timers think. A complete glamping trip packing list comes down to a few essentials: layers you can add or shed as temperatures swing, dual-purpose footwear that works on trails and inside your tent, low-light gear for unlit paths after dark, and compact toiletries that fit a tiny bathroom counter. Cover those four areas and you have solved the two classic mistakes: suitcases full of city clothes and the one forgotten item that would have made the tent stay comfortable.
Keep your luggage in a soft duffel under 20 kg, use packing cubes to stay organized, and start your checklist 3-4 days before departure so there is time to replace anything missing. With that done, most last-minute stress disappears, and you can focus on the scenery and the comfort instead of what you left behind. If this checklist helped you, leave a comment or share the article with a fellow traveler.